Steps to Set Up a Recycling Hub in your Community or Business
News and Events / Projects
The following information gives steps to starting your own Recycling Hub. It’s based on the knowledge and experience of the University of Tasmania’s Recycling Hubs (they call them Recycling Walls) and shared with their kind permission. Read their Recycling Wall Good Sort profile for inspiration.
Step 1: About Recycling Hubs
Recycling Hubs collect items which cannot be placed in kerbside recycling bins but can be recycled through specialist programs. They’re a great way to reduce landfill waste and provide a convenient service for fellow community members or your customers.
The following information is focused on the FREE specialist recycling programs available, but you may choose to sponsor the recycling of other items relevant to your business setting or community, and pay to have different Terracycle collection boxes (these are known as Zero Waste Boxes and you can check out the full list here) or pay to send recycling to other organisations such as Aussie Bread Tags for Wheelchairs.
Step 2: Find a Location
Hubs can be fixed in one location (e.g made from old filing cabinets or custom-made) or mobile (e.g. a trailer or van). They can also collect just one item (e.g. spectacles in an optometrist business) or many (e.g. hubs in schools).
Find out what approvals are needed for your Hub’s location. Remember to consider your Hub’s opening hours if you will be located inside a business with fixed hours, and accessibility and safety issues too (e.g. to keep the Hub safe from vandals and users safe when dropping off items).
Step 3: Choose What to Collect
Consider:
(a) if you will have free recycling programs or if you will pay for any special programs;
(b) what space you have available (for the Hub itself and to store items until ready to send for recycling);
(c) what will help to fill a gap in recycling services not already in your local area;
(d) how much time the people running the Hub have to check it, empty it and send items away for recycling.
These recycling programs have no joining fee and there’s no cost to ship the items to the recycler either:
- Mobile phones (Mobile Muster)
- Toothbrushes, toothpaste tubes, floss containers (Terracycle)
- Household batteries (Local council or supermarket drop off)
- Printer and toner cartridges (Close the Loop – note, only some brands)
- Beauty product packaging (Terracycle)
- Small e-waste (Local council drop off)
- Spectacles (Lions Club Recycle for Sight – check if your local Club is a drop-off point)
- Aluminium coffee pods (Nespresso or Terracycle)
- Disposable razors (Terracycle).
There are also free recycling programs that only collect a particular brand of product. To see the full list visit Terracycle (and note that some programs have a waiting list).
Step 4: Set Up How to Recycle the Items
You need to register for some of the free recycling programs before you start collecting.
Mobile Muster: https://www.mobilemuster.com.au/
Phone them to set up an account. When you have enough to send, follow instructions to package, label and send. They have a free courier service from most locations.
Terracycle: https://www.terracycle.com/en-AU/brigades
Set up an account and join the appropriate free programs which include free postage of boxes of items. Make sure you check the minimum parcel size. Drop at Post Office.
Lions Club
Contact your local Lions Club to find out their preferences.
Close the Loop: https://www.closetheloop.com.au/
Set up an account and order a set of bags which you use to send back cartridges for free. Follow instructions for what brands can and cannot be recycled.
Nespresso: https://www.nespresso.com/au/en/nespresso-bulk-recycling-box-kit
Join up as a member and order boxes for return of coffee pods. Free return to Nespresso through a courier service from most locations.
Local council
If your local council provides free recycling collections for items such as small e-waste and household batteries at their Waste Transfer Station, talk to them about how and when you can add your items so they can all be sent for recycling together.
Step 5: Set Up the Recycling Hub
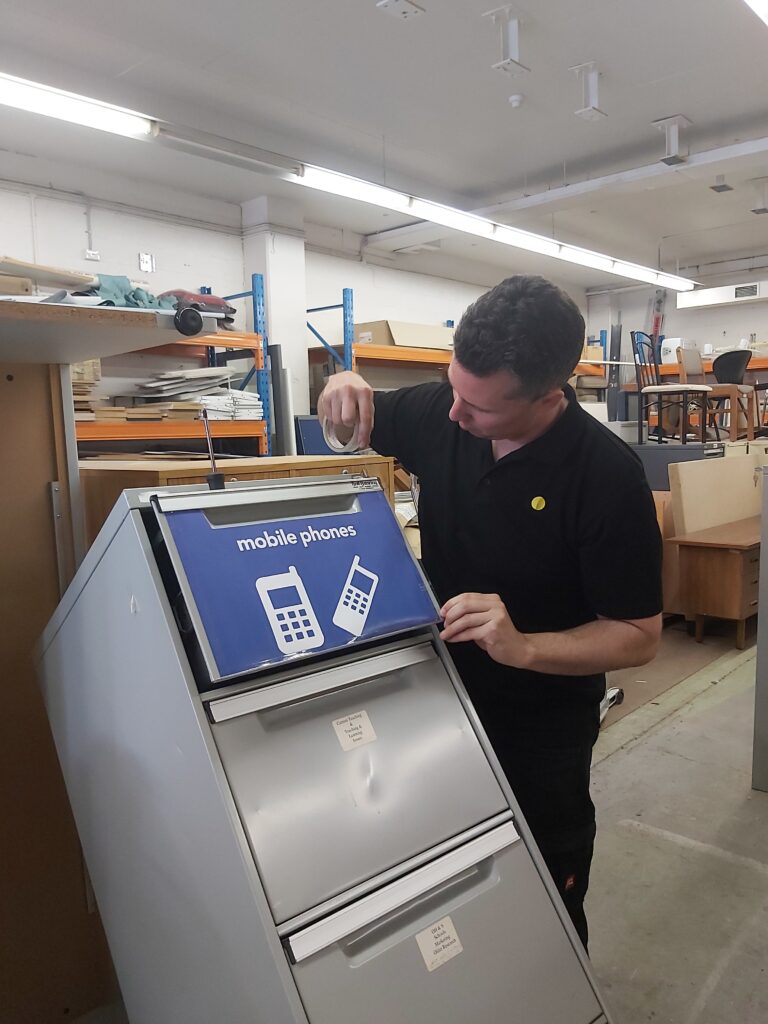
If you’re creating something more elaborate than just a box, then each drawer or compartment in the Hub should have a separate tub/box inside for the different items to sit in. Items can then be tipped into another box for removal. Reusable plastic tubs that can be easily cleaned are a good idea if the items may contain left-over wet product (e.g. toothpaste). The image below shows how UTAS converted an old filing cabinet into one of their Hubs… a great re-use of an unwanted item!
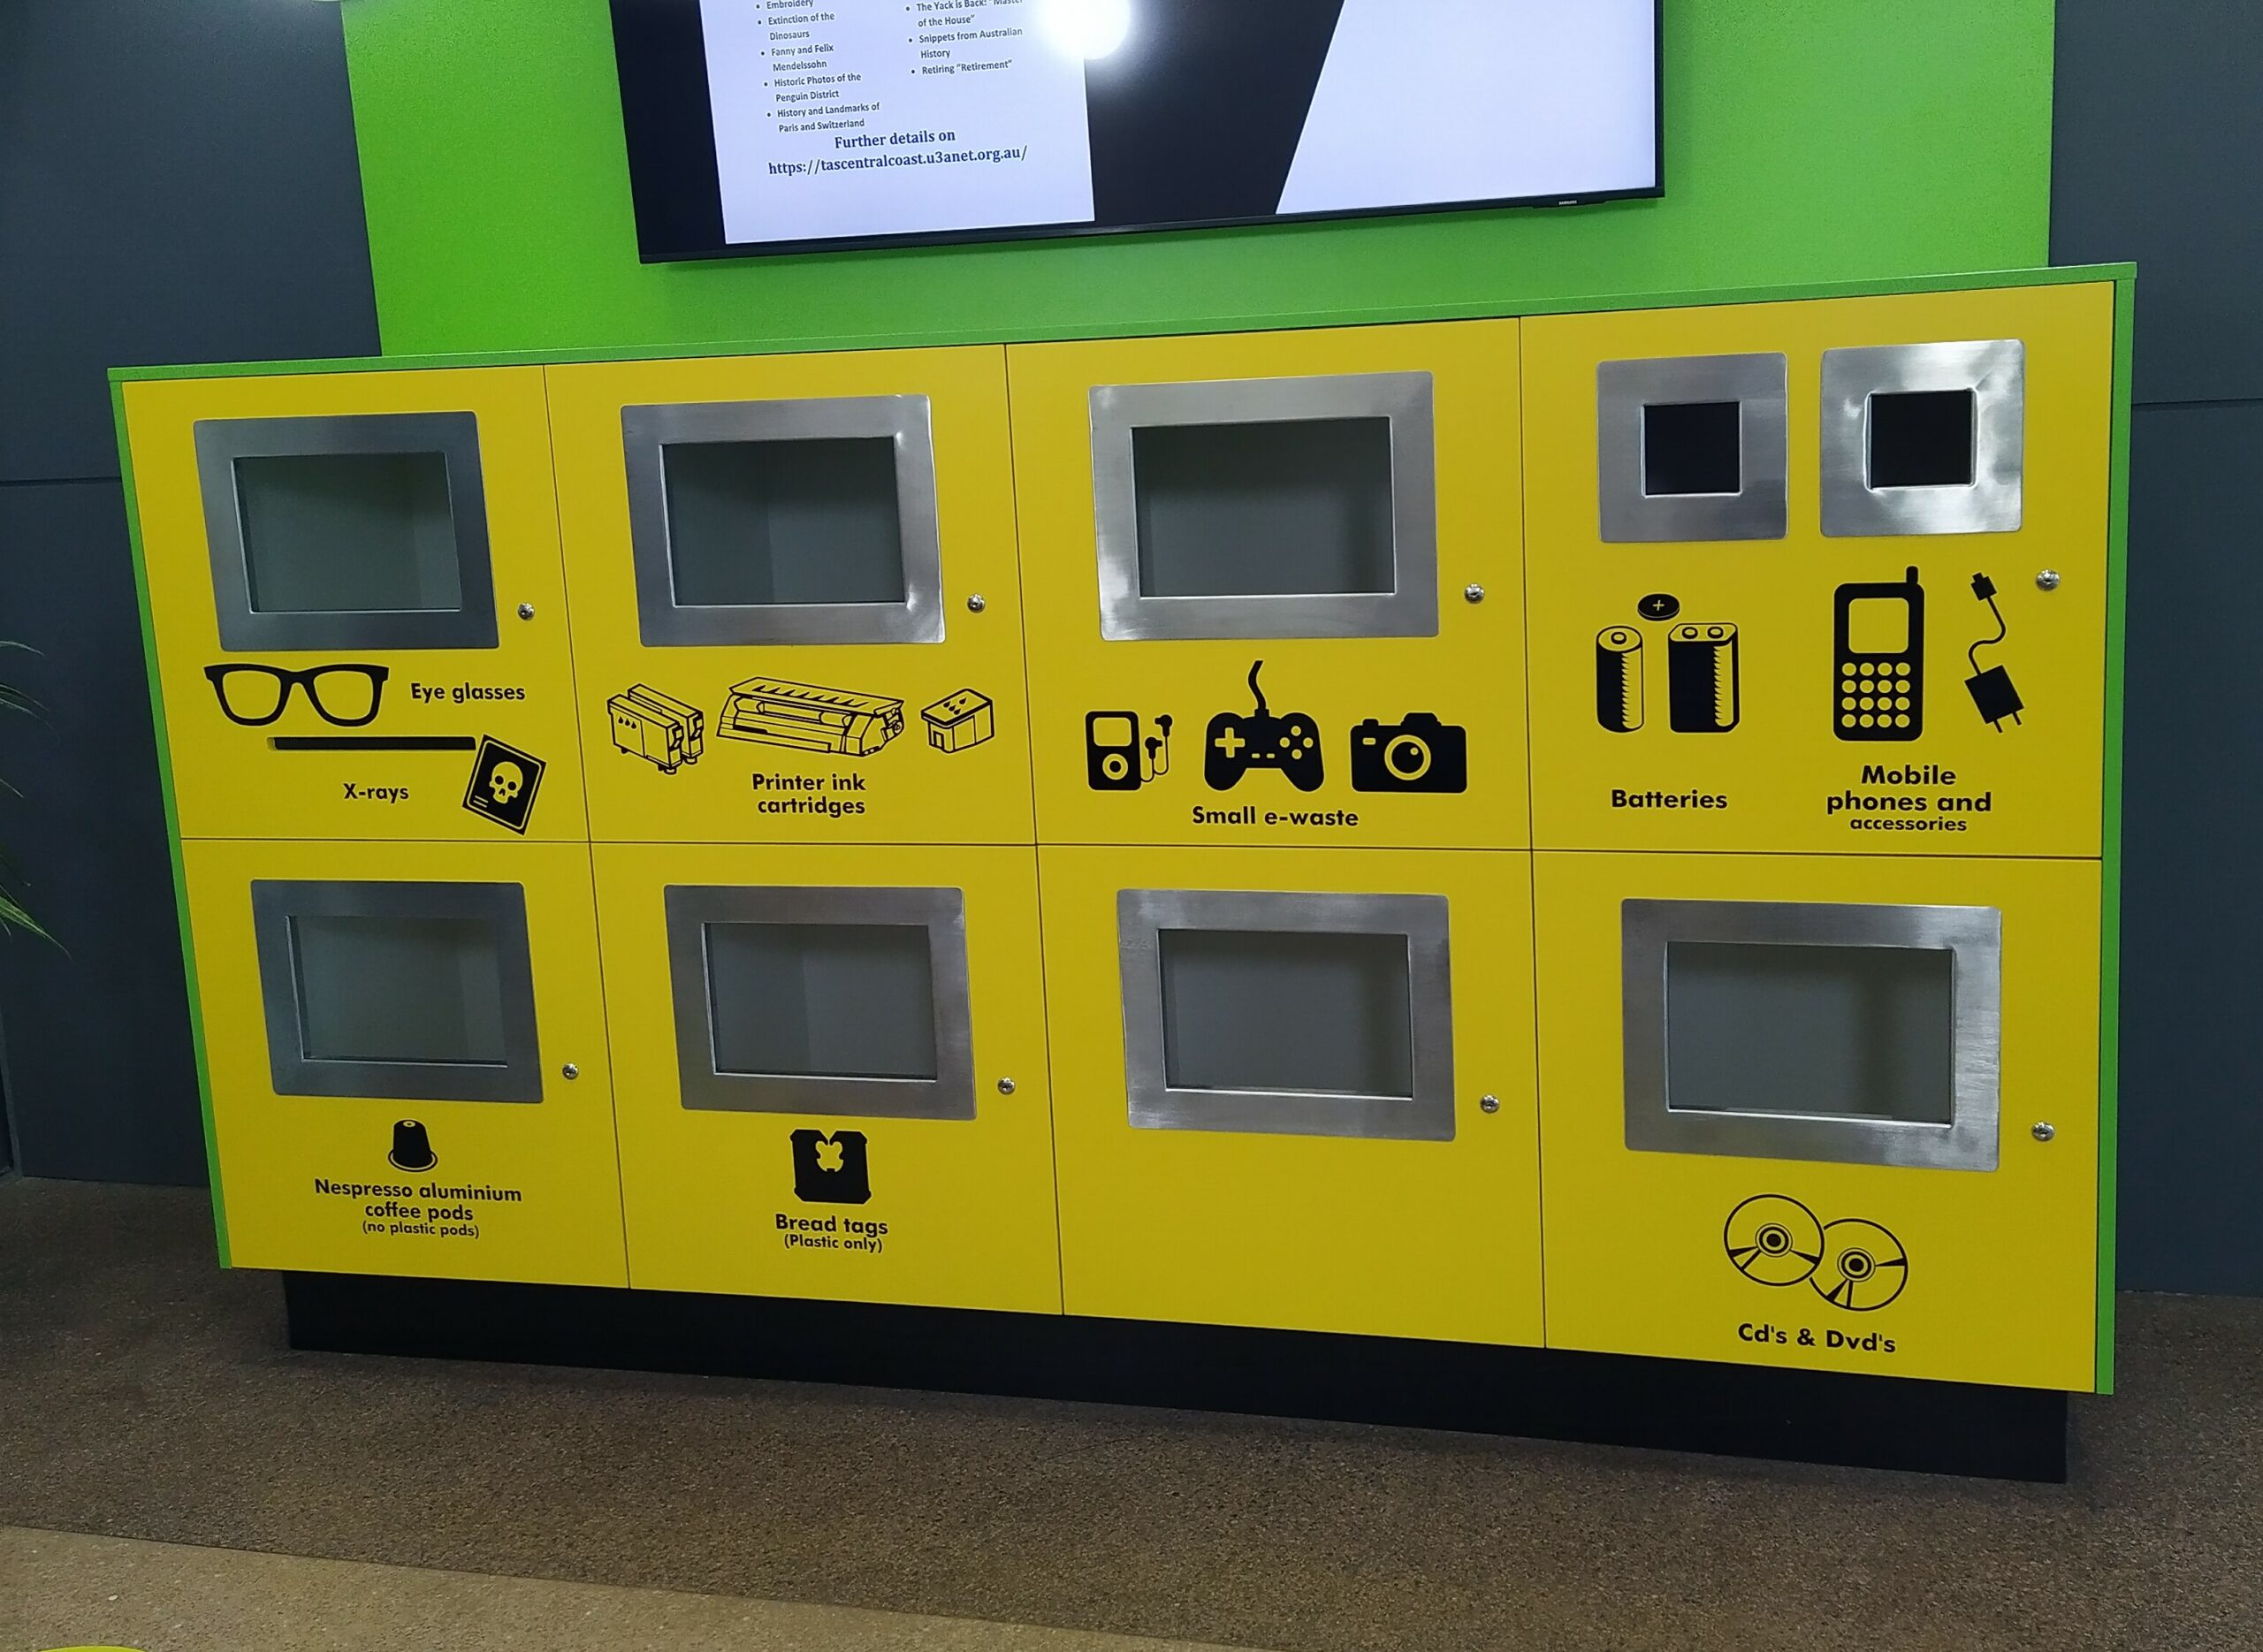
Create clear signs for what is accepted for recycling at your Hub. A combination of words and pictures is most useful. Search online for examples. There are also many free recycling sign templates available (including here).
One of the most important steps in starting a Recycling Hub is to tell people about your Hub!
Step 6: Maintain the Recycling Hub
Regularly check the Hub and empty compartments as they start to fill. It is recommended that gloves be worn and that items are only handled with BBQ tongs. Removal of contaminants (such as bottle lids and sunscreen tubes) should be done using BBQ tongs. Keep a set of BBQ tongs inside the Hub next to a box, ready to use. Batteries should only be handled wearing gloves. Never assume that something sharp or nasty will not be in there!
A small storage area will be needed to store items before sending for recycling. If you are going to keep track of how much waste has been recycled, a set of scales is also needed. A set with 20 to 30kg capacity is suitable plus a tub to assist weighing.
Some Final Tips when Setting up a Recycling Hub!
- Prioritise your safety and the safety of Hub users.
- No wish-cycling…. Ensure you have a recycling destination for your collected items.
- Take small steps and grow with time and experience when setting up your Recycling Hub – it’s best to do one thing well than be stretched too far.
- Set up your Hub in a team or group, that way if one person can no longer help out, the Hub can continue.